The currency module allows you to create, maintain and add currencies your church finances.
Add Currency
To add currency,
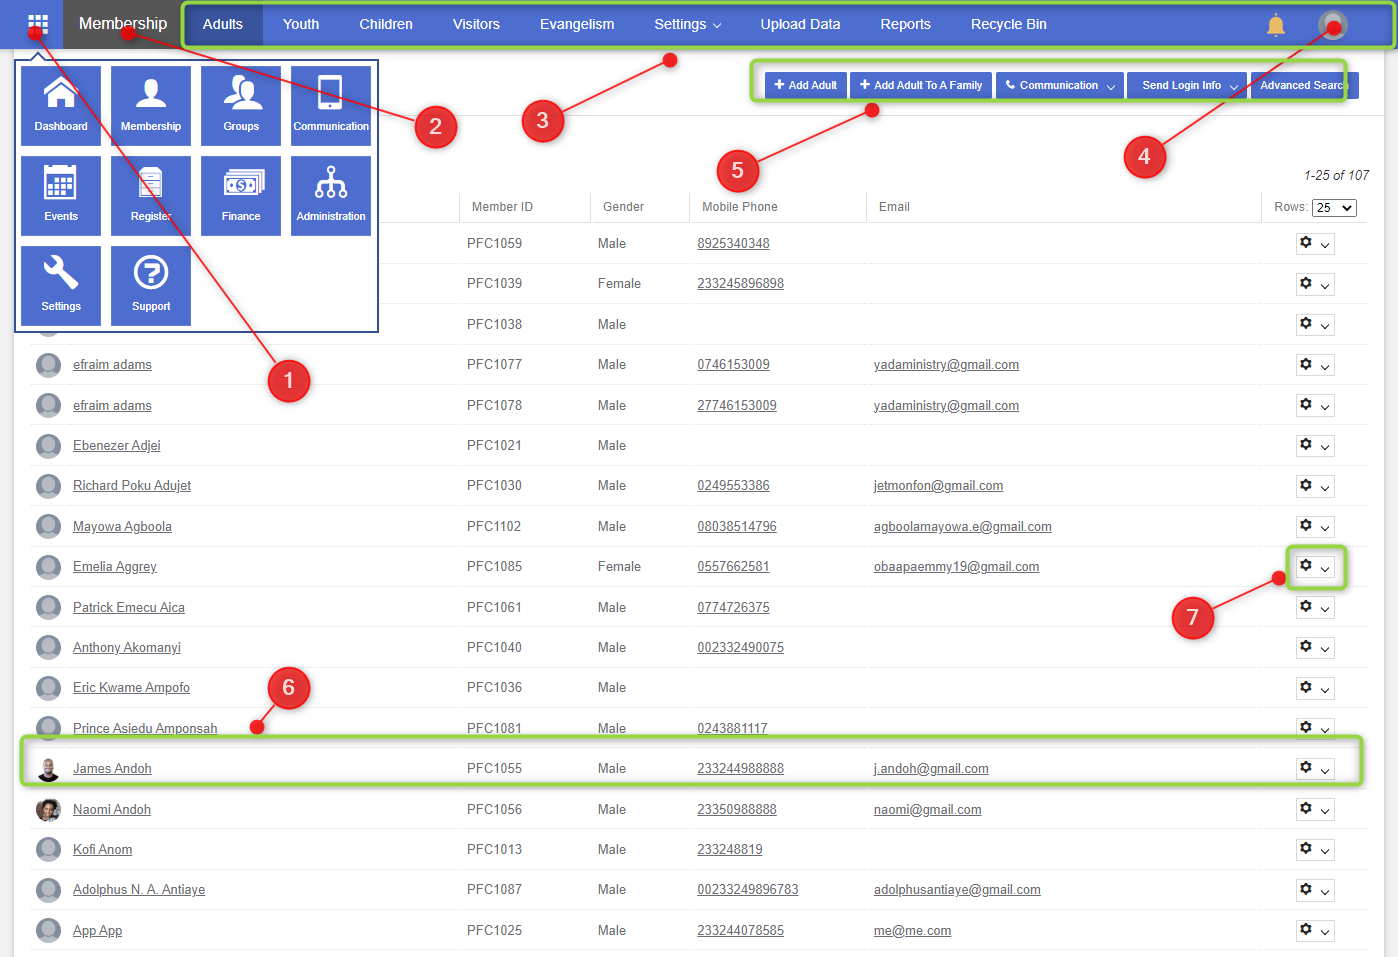
- Navigate to “Drop container > Finance”
- Select “Currencies” from the menu bar.
- Click on “New” button
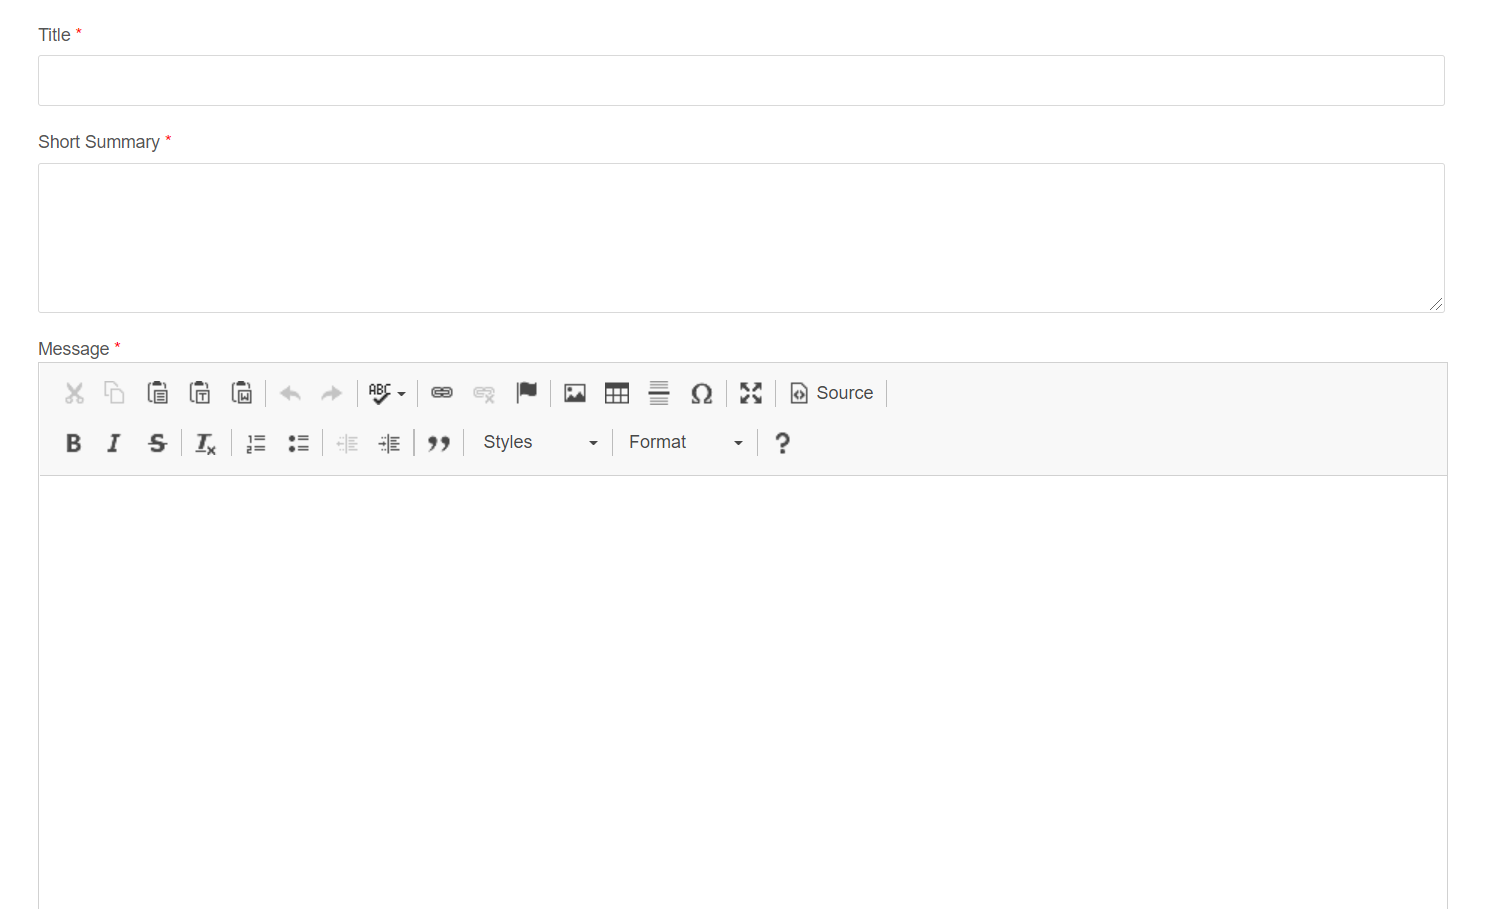
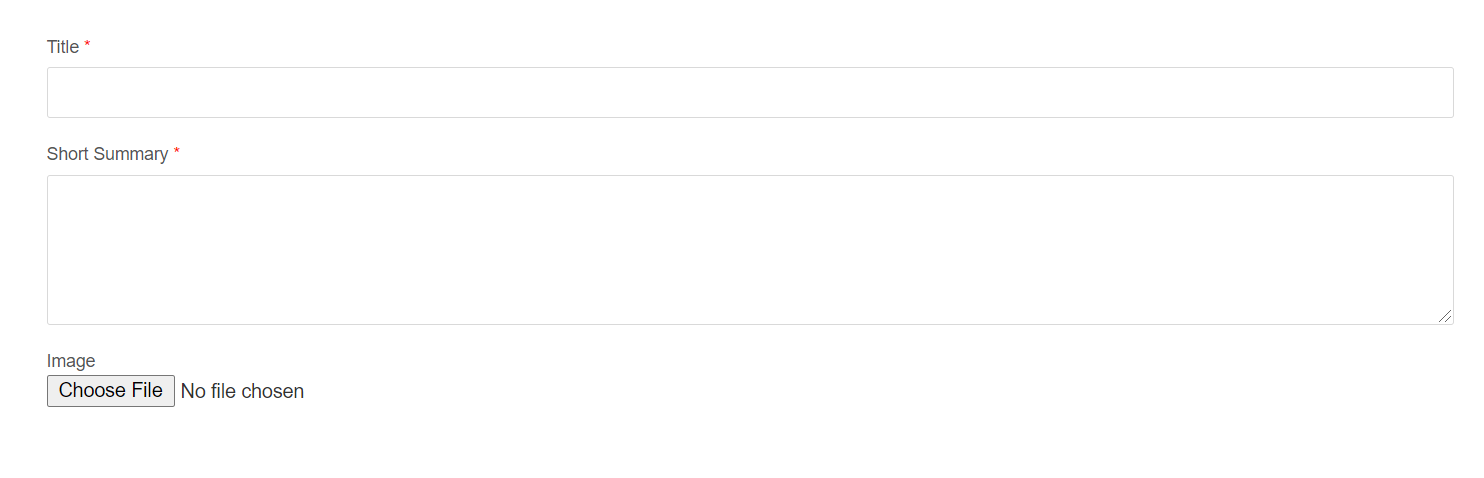
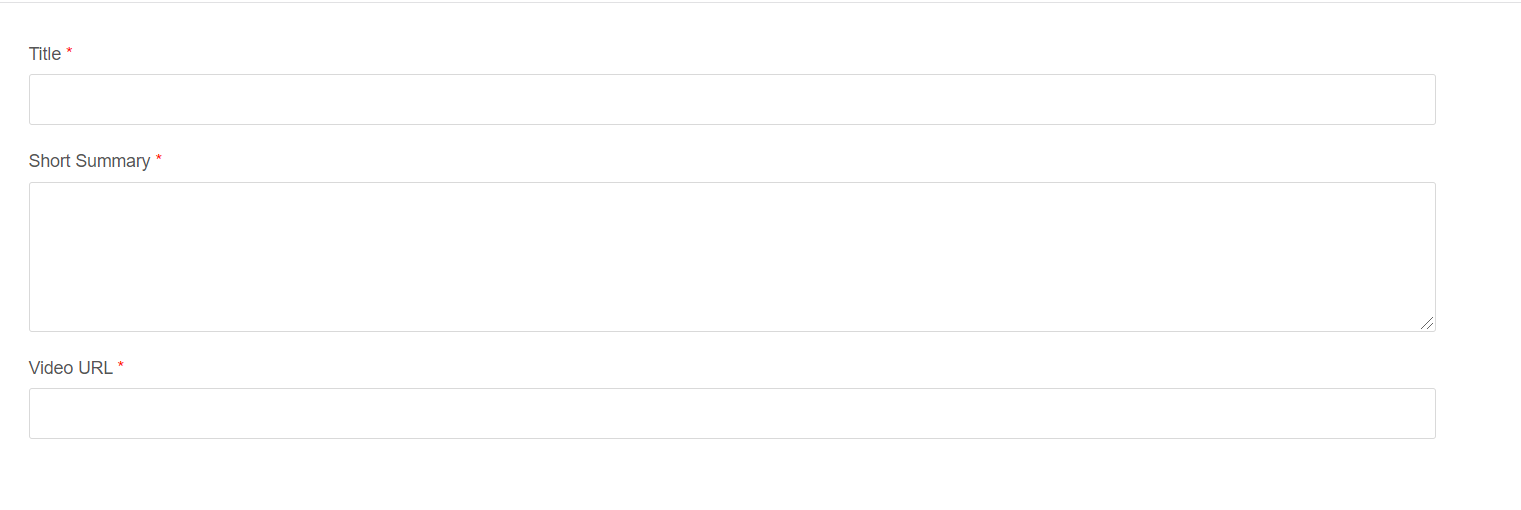
- Complete the fields as required
- Click on the Save button. The new currency you just created will be added to the currencies list.
Edit Currency
To edit a visitors’ status,
- Navigate to “Drop container > Finance”
- Select “Currencies” from the menu bar.
- From the currencies List page, click the action button on the record you want to edit.
- Select the “Edit” item from the dropdown list.
- Edit as required.
- Click on the “Ok” button. The edited currency will be saved.
Delete Currency
To delete currency,
- From the currencies List, click the action button on the record you want to delete
- Select the “Delete” item from the dropdown list.
- Confirm that you want to delete the record by clicking the “Ok” button. The record will be deleted.